What Is A First Aid Kit?
Posted by Jeremy Windsor on May 3, 2024
Putting together a mountain first aid kit should be easy. But ... it isn't! Everyone has their favourite bits of kit. Their own experiences. Sometimes there seems to be so much that we disagree on! At times like this I turn to the climber and mountaineer Andy Kirkpatrick. His advice is borne out of years of experience and couldnt be clearer...
Maybe I read Lofty Wiseman's SAS Survival Handbook too many times as a kid, but I’ve always approached the first aid kit concept as more of a survival kit. What is a first aid kit? First, I think you need to both make your own kit from scratch and make a kit that solves a myriad of problems, to repair or keep both body and gear and ambition going forward. First aid kits are always designed to hit the cheapest price point, and so making your own allows you to ditch all the fluff and make what you carry - which is still minimalist - do what’s necessary when necessary.
The following is my approach to such a kit, and it is just a guide, and although I might make adjustments for a longer trip, the idea is you just carry this kit all the time and forget about it when a problem comes up, be that a tick on your leg, a broken head torch, or a compound fracture. Note that is is not for alpine climbing or multi-pitch climbing, where something much smaller would be carried (or not), but rather for general hill and crag use in the UK and Ireland.
Kit Pouch
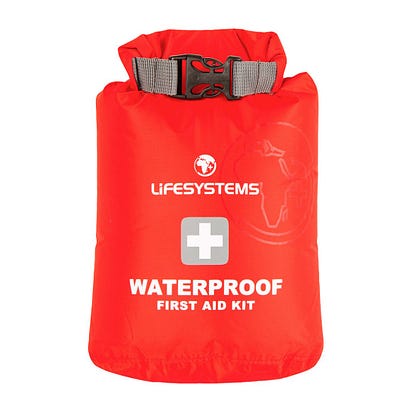
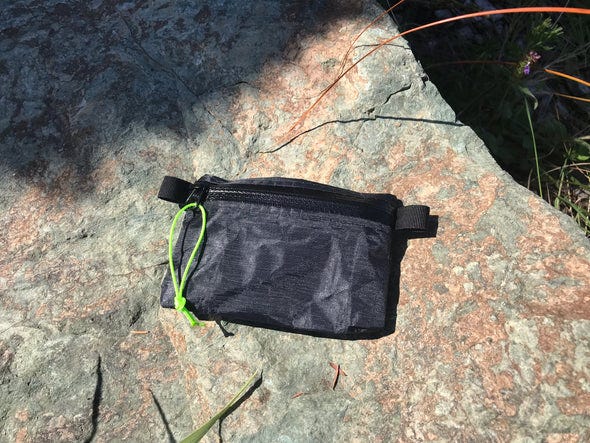
Your kit needs to be in an easily identified, robust, waterproof roll top bag around 1 litre in size (Sea-to-Summit, Exped, Life Systems). You will subdivide the contents into zipped colour-coded ditty bag (Tuff Bag), linked together and connected to the main bag, and subdivide again using small ziplock bags. Mark the bag with contact details and add a lanyard and medium-sized wire gate karabiner so it can be secured inside the lid of a pack or to a belay or pack in high winds. Add Stuk Glow tape to the buckles so you can find it in the dark without a torch.
Emergency Bandage
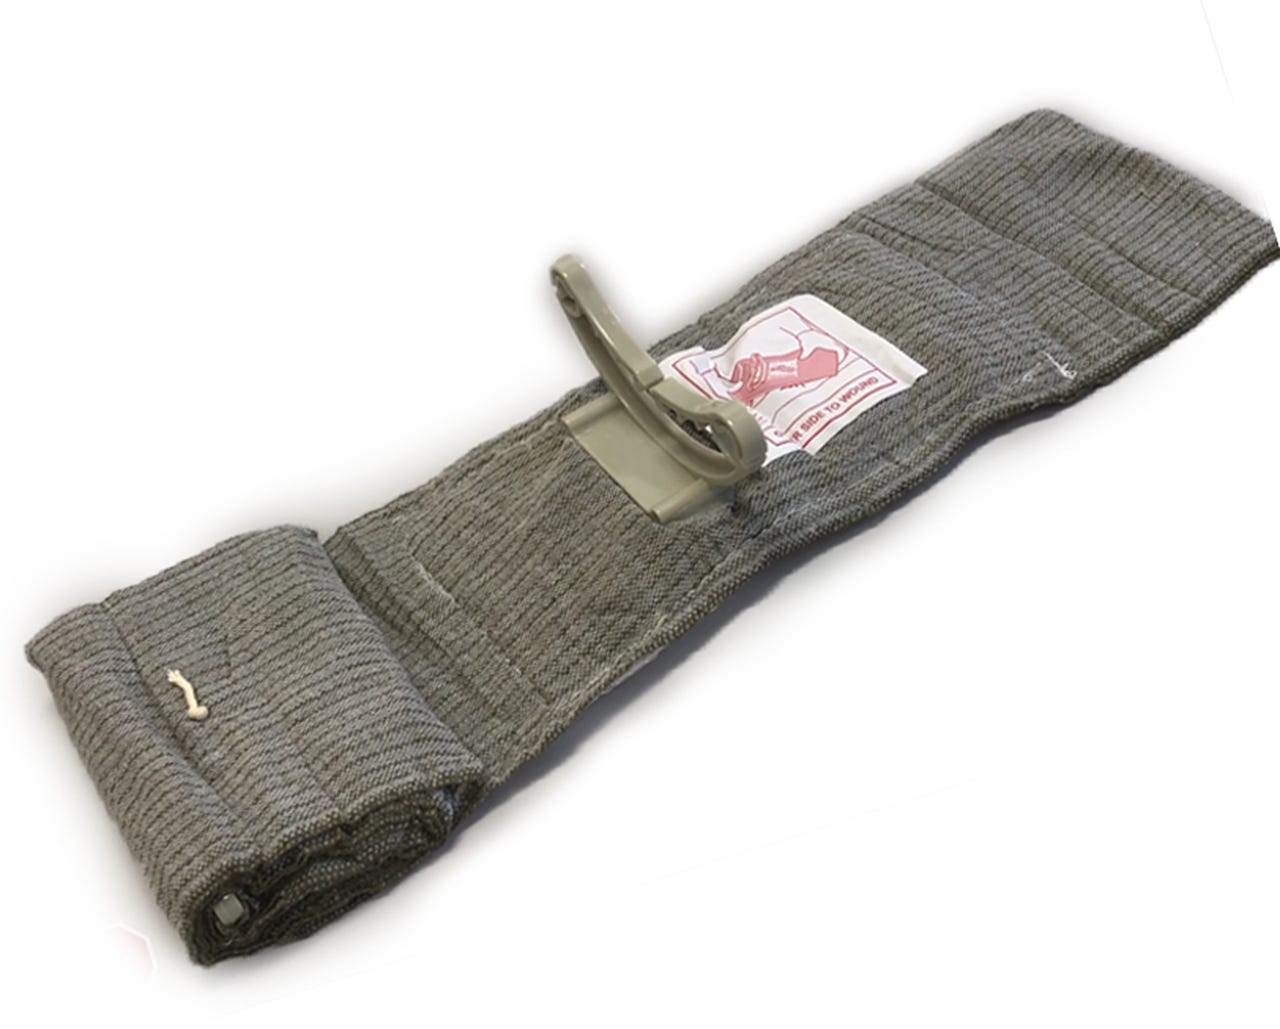
Although the classic bandage has been around for thousands of years and is a central component of a first aid kit, wrapped in it's little crinkly plastic wrapper, the modern emergency bandage or "Israeli Bandage", Invented by Israeli military medic Bernard Bar-Natan in the 80s, should now be viewed as the standard for all kits. Part bandage, part field dressing, it is designed to be far more effective at applying pressure to a wound and much easier to secure in place due to its elasticity, width, and closure bar. The closure gives the user a way to apply extra pressure on the wound or twist it to create a tourniquet. Such a tactical bandage is very appropriate for the type of messy head and limb injuries outdoor casualties suffer, the design helps to keep the bandage in place if you have to get yourself out of trouble and walk off the mountain. Speaking of trouble, an emergency bandage is also much easier to apply to yourself.
Israeli Bandage
Although twice the price of a standard bandage (€10 versus €5, which is why they’re not part of a standard first aid kit), these bandages are packed very robustly, so they are ideal for a mountain kit and will last for approximately eight years. I would get a 4-inch version and buy two in order to open one for you and your partners to practice with (before it’s needed for real).
Burnshield
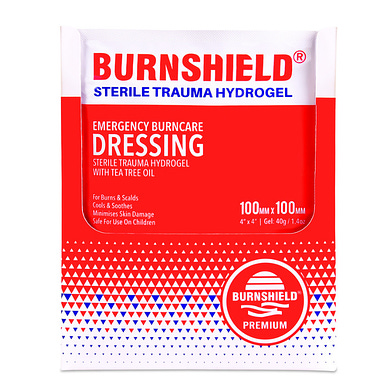
Any trip that involves using stoves runs the risk of burns, both directly from the stove itself or from spilt boiling water. Tired people can also set themselves or tents alight or pick up red hot pans or stoves with bare fingers. In my climbing life, I’ve seen it all. Having some form of treatment for minor burns is important, so a few small packets of Burnshield (10cmx10cm).
Tape
There are many kinds of tape you can carry, such as paper micropore, Elastoplast, Mueller fabric tape, but Transpore tape (5cm x 0.9 m) works best due to being very sticky, tough, waterproof, and breathable. This can be used like a makeshift plaster or for securing a dressing, but it will most often be used to cover hot spots on your feet or frost nip on your face. Store in a ziplock.
Scissors
Although you can probably use a pen knife, having a pair of paramedic Tuff Cut Scissors comes in very handy. Get a set with bright-coloured handles so you can spot them easily on the ground.
Wound Cleaning
Carry five alcohol-free wipes in a ziplock for wound cleaning and add a small plastic bottle plastic (30ml) of iodine. This has too many uses to mention, from treating wounds, athlete’s foot, to nuclear radiation.
Dressings
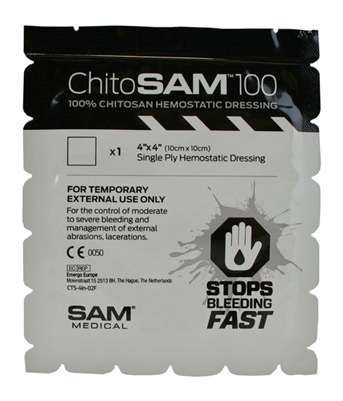
Carry two sterile 10cm x 10cm dressings in a ziplock bag, and ideally make one a Quikclot style haemostatic dressing impregnated with a coagulant. This latter style of dressing is highly desirable with a head wound, as you tend to get a lot of blood. Ziplock.
Plasters
Strip of water-resistant Elastoplast or Bandaid to cut to size, plus a mixture of waterproof plasters, including Opsite waterproof plasters (often used by tattoo artists) and Compeed. Ziplock.
Pain Meds
Paracetamol should be your standard over-the-counter (OTC) relief for pain, colds and fever, as it has the least side effects, which is important if you’re giving pain meds to someone else. Ibuprofen (Nurofen), being an anti-inflammatory, is often recommended for muscle pain, but I would only use it if the pain has to be relieved in order to get down (such as shin pain); otherwise, your body is inflaming for a reason, so leave it. Cocodamol (8mg) is the strongest OTC pain relief you can get and will be combined with paracetamol (500mg). If you want the strongest OTC pain relief, you can combine variations of paracetamol, ibuprofen and codeine, paying attention not to double dose with paracetamol. If you want heavy-duty perception drugs, such as opioids, you should have some form of appropriate first aid training, such as a wilderness cert. Ziplock, along with a laminated card detailing dosages.
Bad Guts
Carry a sheet of water purification tablets and Imodium if the germs get in. Katadyn Micropur are the most effective tabs, but they’re expensive, so a cheaper chlorine dioxide tab (Life Systems or Potable Aqua) are better for emergency use. Two Dioralyte sachets come in handy post-sickness or if you get heat injuries like heat exhaustion or sunstroke. Ziplock.
Cream
Savlon Cream (15g) and Glide Anti Chafe Cream (22g).
Hardware
Carry a few medium safety pins (which can be used as pins when sewing), plus one nappy and one kilt pin, as these have multiple uses, especially if the zipper busts on your jacket, sleeping bag, or tent. Sterile, individually wrapped surgical blade. Tick Remover (card or tweezer). Victorinox Micro Tweezers and toothpick.
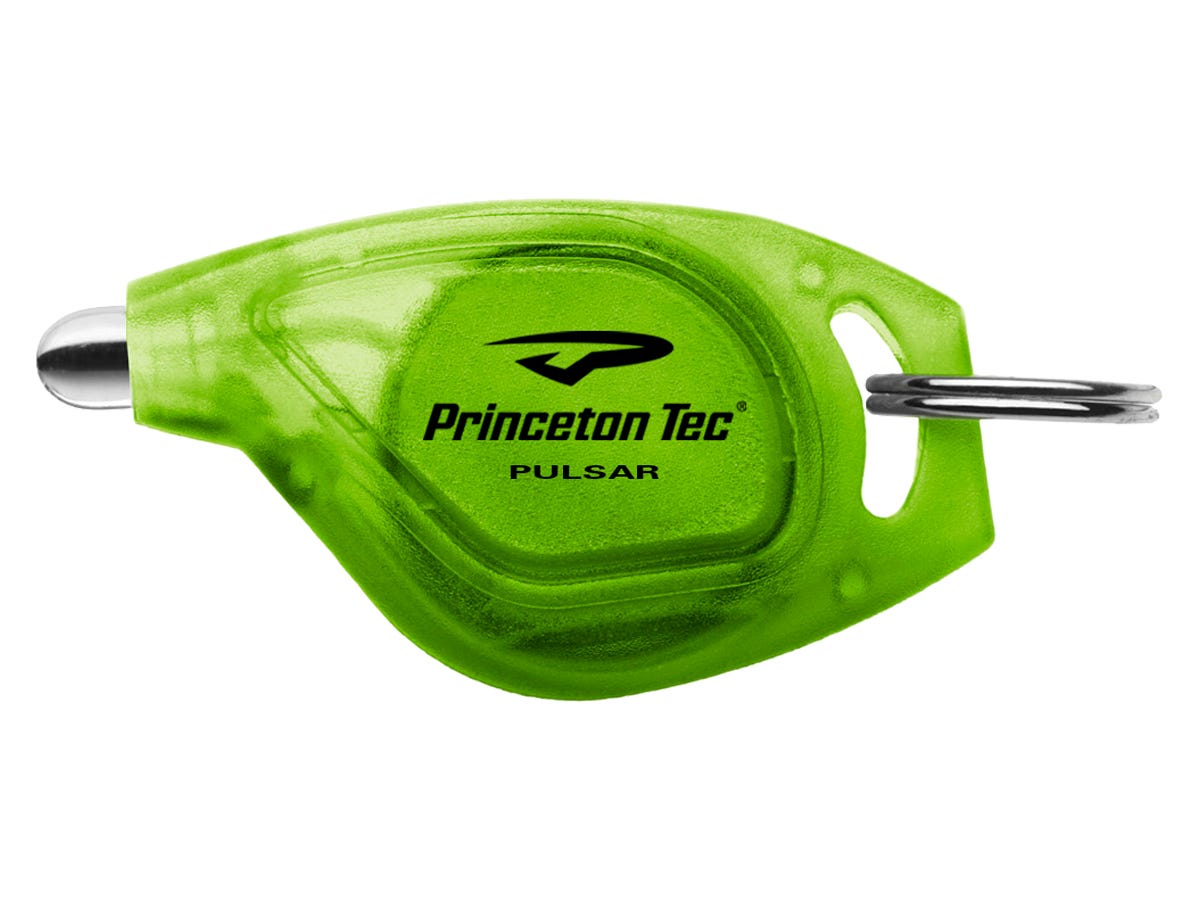
PrincetonTec Pulsar - just 7g!
LED Light
In terms of survival and accident/rescue avoidance, a light source is one of the best tools in your armoury. Carrying the smallest but most effective mini LED lights in your kit is recommended. This can act as a backup to your or a partner’s light (broken, lost, dead battery), but it is also at hand if you need to find items in your kit in the dark. The Petzl E+ Lite (26g) or Black Diamond Flare (27g) are ideal choices or go for a non-headtorch micro keychain design, like the PrincetonTec Pulsar (7g). Oh, and carry a spare battery.
Fire Steel
Although viewed as bushcraft kit for bearded men who hang out in the woods, Fire Steel is a micro ferrocerium rod (30mm x 4.5mm/0.01g) can be struck with a ceramic razor blade to create a spark that will light both gas or petrol stoves. This will save your bacon when your lighter is wet (fire steel works wet or dry), or not if you’re cooking bacon. The ceramic razor can do anything a razor can, but it will not rust. Due to their tiny size, join both items with a short length of bright fishing line or thread.
Sewing Kit
Needle threader, several needles (#7 embroidery and #18 chenille needles, or sail repair needles) in a sewing needle tube, rubber thimble, 2 buttons, small strip of velcro and patch of fleece, extra strong thread on machine bobbin.
Odds And Ends
Cut down spork (spoons are magic, they just disappear). Pencil wrapped in gaffer tape (heat the tape over a flame to make air matt patches). Rite in the Rain 3 x 2 notebook. 5m #36 bank line and 5m 1.18mm micro Kevlar cord wrapped on card spool. 1m 550 cord (shoelace). Mini Signal Mirror, used for tick hunting and checking skin/frostnip damage. 8cm hacksaw blade. Ear Plugs. Whistle. Stove pricker. Zip tie.
On an expedition, I would also include a small multi-tool like the Gerber Dime, as well as a small file, allen key, spare crampon bail etc...
Many thanks to Andy for allowing his article to be republished here. A selection of brilliant books (all highly recommended!) can be found on his website.
Read Andy's thoughts about the "buddy system" here.
More information about the University of Central Lancashire's Diploma in Mountain Medicine (DiMM) can be found here.
Thanks for reading this post. If this is your thing why don't you take a look at other posts on the blog? Better still, why not join the British Mountain Medicine Society? More information can be found here.
Comments
Leave a comment.



 )
)
03/05/2024 @ 06:12:56 Stu Maitland-Knibb
Excellent as usual. I didt read (and it might be there) but a pair of non-latex gloves sometimes helps people touch things they would rather not. A small alcohol gel container makes the person being touched less concerned also :-))
Reply? Suspend Delete